While universal screen readers like NVDA and JAWS are frequently used to understand and navigate websites or apps, Mac users have an additional option called VoiceOver.
VoiceOver is built into MacOS and designed to support accessibility options that are particularly Apple-friendly and highly customizable. That includes anything from adjusting your keyboard focus preferences to attaching a refreshing braille display.
Here, we’re going over the steps to set up and turn on VoiceOver, along with the other important information you should know when first getting started.
How to start using VoiceOver
Step 1: Start by heading to the VoiceOver utility to make sure everything is set up as you or the user with visual disabilities prefer. Open System preferences and go to Accessibility. Here, you’ll find an option for VoiceOver. In this option, select Open VoiceOver utility. If you need a screen reader to use menus like this, then skip down to step 2 first to turn on VoiceOver.
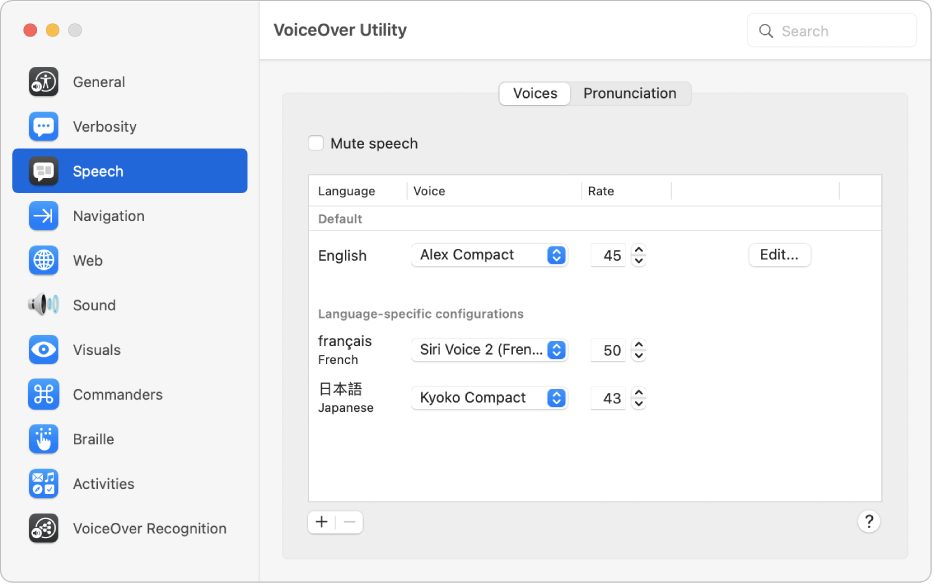
This will open a new window. The leftside menu has a variety of options for VoiceOver settings. You may want to inspect every category, but Speech and Navigation are particularly important stops. Braille allows you to set up VoiceOver for a braille device, and Activities allows you to customize specific commands once you are comfortable with VoiceOver. Make sure all the settings are to your liking.
You can visit the Utility again to tweak things as you progress, especially when it comes to screen reader speed and other settings.

Step 2: Now let's turn on VoiceOver. Press the Command + F5 keyboard shortcut at any time to activate VoiceOver. This will pop open a new window and announce the VoiceOver has been enabled. If this is your first time, it’s a really good idea to select Learn more, which will read you through a tutorial of VoiceOver basics, important sound indicators, and the commands that you can use. Note that the Command + F5 option is referred to as "VO" in Apple’s keyboard shortcuts.
If you want to start using the screen reader, press the V key or select Use VoiceOver.

Step 3: VoiceOver will immediately begin reading the document, webpage, or Mac app that you currently have selected. You can choose a different window if you want the screen reader to start reading something else. This is done via the VoiceOver cursor, a focus window that shows where VoiceOver is currently reading. When you move the cursor, your keyboard focus will also move when possible, allowing you to input faster keyboard commands when you find the option you want. You can also use the Navigation section of the VoiceOver utility to enable mouse control of the VoiceOver cursor if you plan on using a mouse as well as keyboard commands.
You can also stop the keyboard focus from always following the cursor, which allows you to do things like type in one app while listening to emails in another app, and so on.
Step 4: Pause the screen reader at any time by tapping the Control key. Press Control again when you are ready for the speech to resume. If you missed something, you can press VO + Z and the screen reader will repeat the last phrase.
Step 5: As you start using VoiceOver, refer to the Commanders section of the VoiceOver utility. Here, you’ll find a number of shortcuts to help you navigate MacOS, with sections for the number pad, keyboard, and quick navigation. The Keyboard section allows you to enable commands like using the S key to open Safari and lets you add your own commands as well. The built-in NumPad commands, meanwhile, allow for fast navigation and interaction around apps that doesn’t require any letter key commands. All traditional keyboard shortcuts, like Command + S to save, will continue to work with VoiceOver.

Step 6: You can also open up a Commands menu to look up a specific command at any time by pressing VO + H, which opens the help menu, then H again to open the Commands. The Commands menu will automatically search for a Command based on what you type, so you can then type something like “open mail” to get the results.
Step 7: VoiceOver also supports item descriptions. When the VoiceOver cursor is placed over an item, you can press VO + F3 and the description will begin. To hear any help tags associated with the item, press VO + Shift + H.
Step 8: VoiceOver can do much more, but this should help you get started and give you the tools to keep on learning. Apple offers additional suggestions as well as a guide to braille commands.
Are you thinking about using VoiceOver on a new Mac? You may also want to check out our guide on the current best MacBooks to buy. You should also make sure you know how to use the Mac's motor accessibility features.