
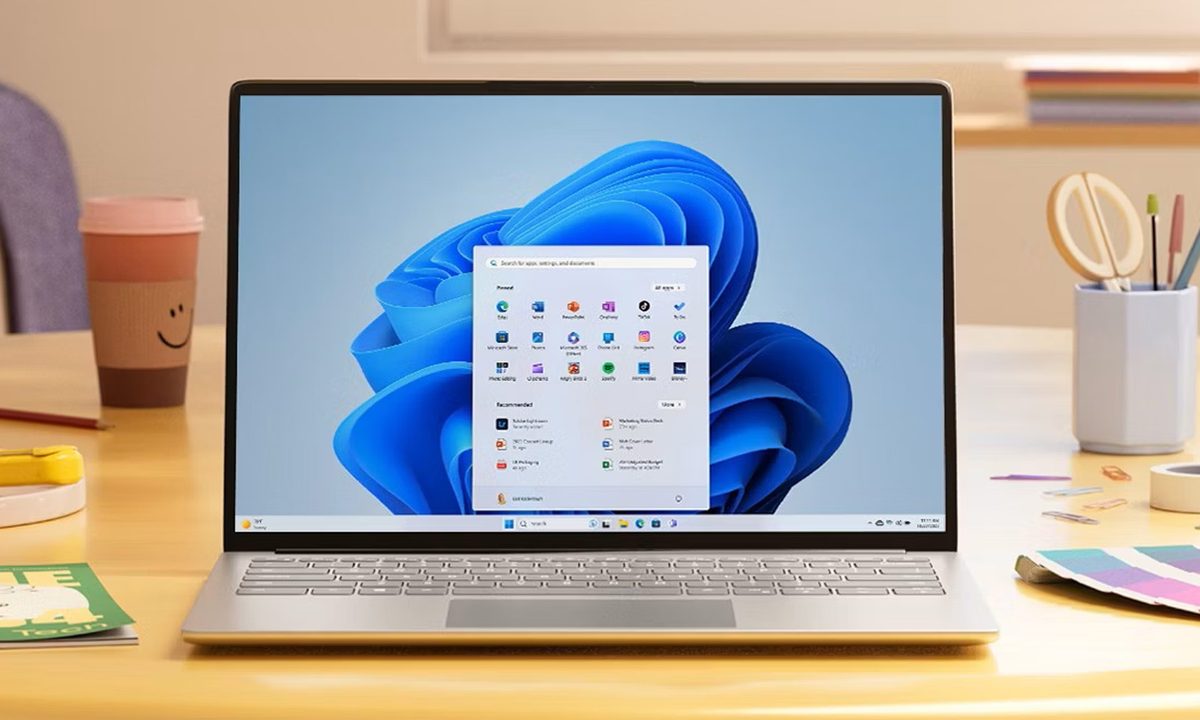
Installing new fonts in Windows 11 is quick and straightforward. Whether you’re working on a design project or just want more typography options, Windows supports multiple ways to add new fonts to your system.
Difficulty
Duration
What You Need
-
A Windows 11 or Windows 10 PC
Install fonts in Windows 11 (quick answer)
To install fonts in Windows 11:
- Download the font file (usually .TTF or .OTF)
- Extract the ZIP folder if needed
- Right-click the font file and select Install
Alternatively, you can drag and drop the font file into Settings > Personalization > Fonts.
Why you might want to install fonts in Windows 11
Windows 11 lets you install fonts system-wide, making them available across apps like Word, PowerPoint, and Photoshop. Once installed, fonts are automatically added to your system library and can be used in any supported application.
Fonts play a key role in how your content looks and feels. Adding custom fonts lets you personalize documents, improve design work, and maintain consistent branding across projects.
If you regularly work with documents, presentations, or creative tools, installing fonts gives you more flexibility and ensures compatibility when opening files that rely on specific typefaces.
Step-by-step guide to installing fonts in Windows 11 and Windows 10
There are a couple of ways to install fonts in Windows, and the process is largely the same on both Windows 11 and Windows 10. You can use the built-in Settings app, install fonts directly from File Explorer, or download them from the Microsoft Store. We’ve outlined each method below.
Method 1: Install fonts using right-click (fastest method)
Step 1: Download your font file

Step 2: Extract it if it’s in a ZIP folder

Step 3: Right-click the font file

Step 4: Select Install or Install for all users
The font will be installed instantly and become available across apps.
Method 2: Install fonts using drag-and-drop
Step 1: Open Settings from the Start menu or using the Windows key + I keyboard shortcut
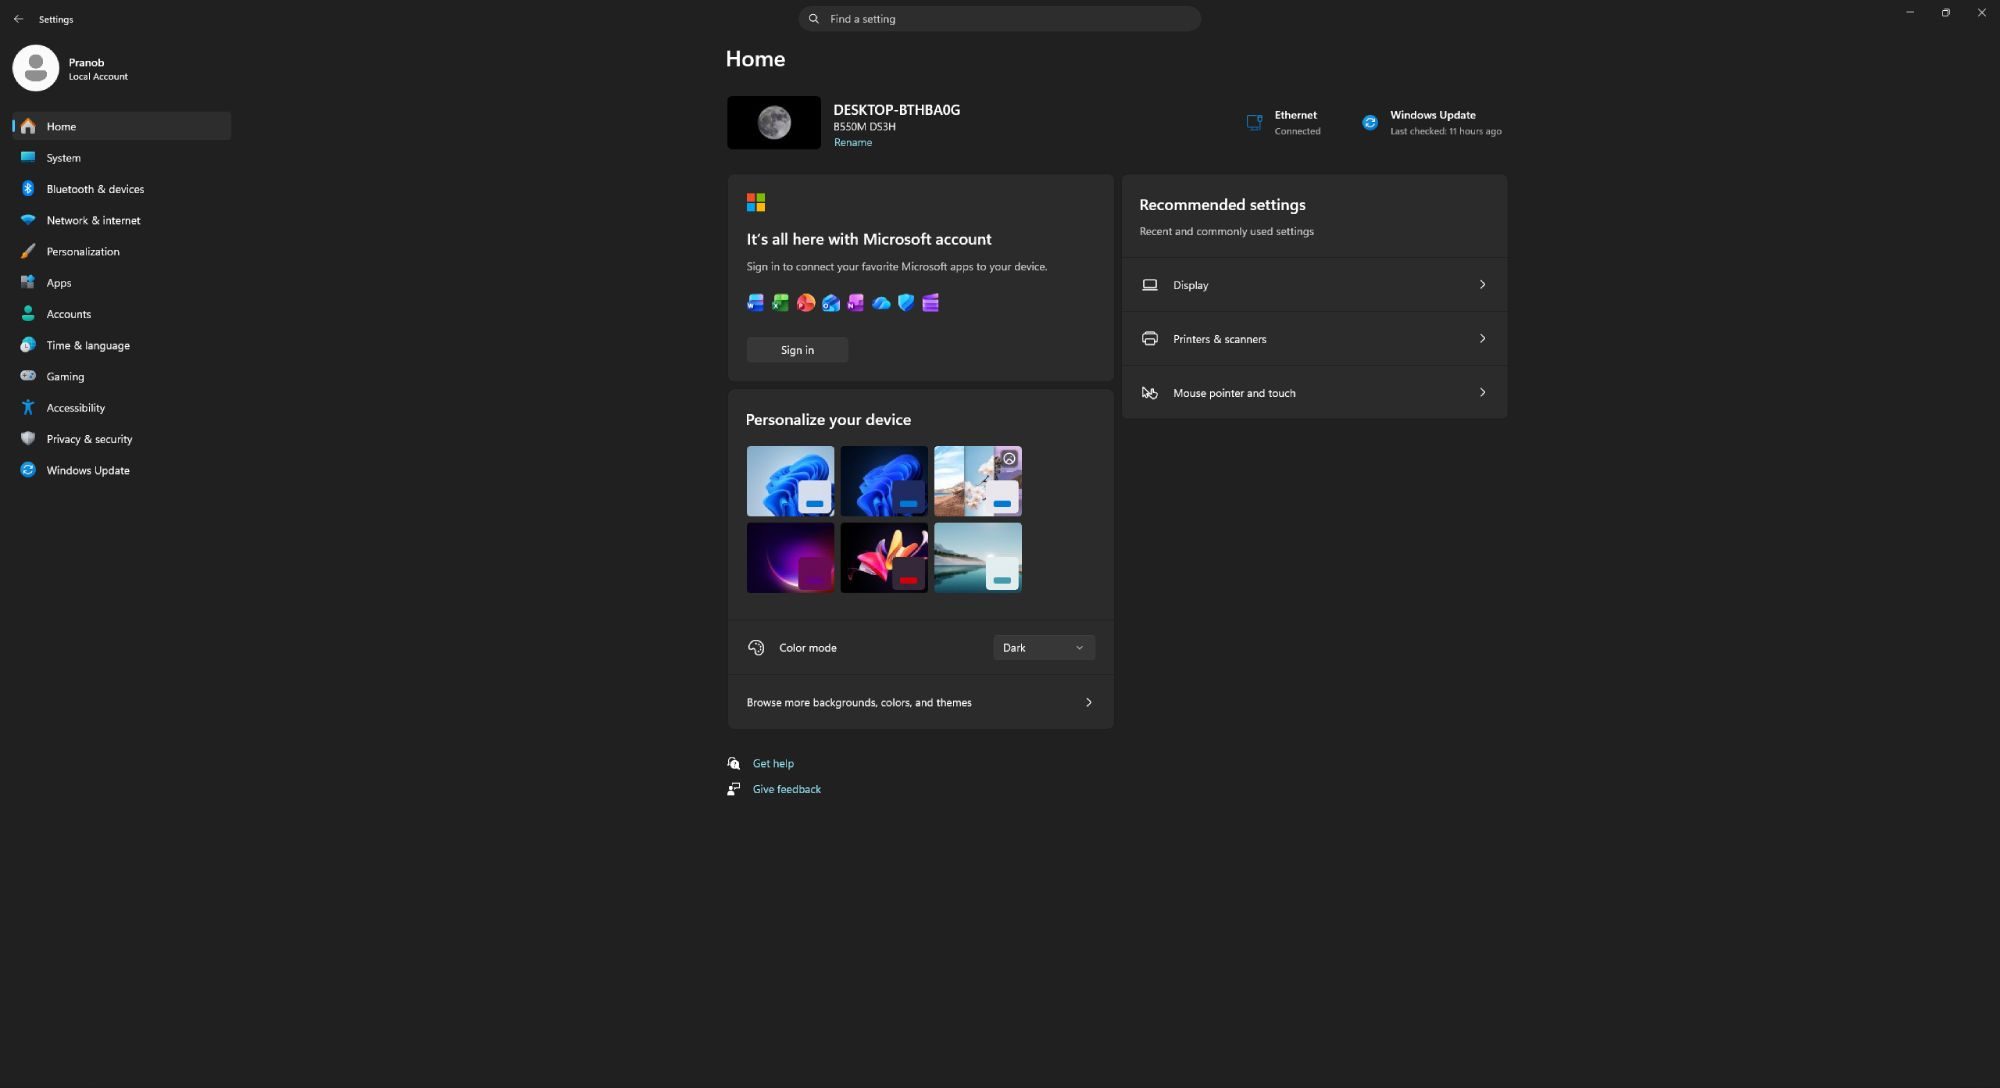
Step 2: Go to Personalization from the sidebar and select the Fonts option

Step 3: Drag and drop the font file into the dotted rectangle in the Fonts window

Windows will automatically install the font.
Method 3: Install fonts from the Microsoft Store
Step 1: Open Settings from the Start menu or using the Windows key + I keyboard shortcut
Step 2: Go to Personalization from the sidebar and select the Fonts option
Step 3: Click Get more fonts in the Microsoft Store

Step 4: Browse and install fonts by clicking the blue Get button on the listing

Windows will download and install the selected font. This is the safest way to install verified fonts.
Which font formats does Windows 11 support?
Windows 11 supports the most common font formats, including:
- TTF (TrueType Font)
- OTF (OpenType Font)
- TTC (TrueType Collection)
- OTC (OpenType Collection)
If your font is in a ZIP file, you’ll need to extract it before installing.
Where can you use installed fonts in Windows?
Once installed, fonts are available system-wide and can be used in apps such as:
- Microsoft Word
- Microsoft PowerPoint
- Adobe Photoshop
- Web browsers
If a font doesn’t appear immediately, restarting the app usually fixes it.
How to uninstall fonts in Windows 11
If you no longer use a font, you can easily uninstall it by following the steps below.
Step 1: Open Settings from the Start menu or using the Windows key + I keyboard shortcut
Step 2: Go to Personalization from the sidebar and select the Fonts option
Step 3: Select the font you want to remove

Step 4: Click Uninstall
Troubleshooting: Fonts not installing or showing up
If your font isn’t installing or working as expected, try the following:
- Make sure the file is extracted (not a ZIP)
- Check the file format (.TTF or .OTF)
- Restart the app you’re using
- Install for all users if permissions are an issue
- Restart your PC if the font still doesn’t appear
Best places to download fonts for Windows 11
Before installing new fonts, you’ll need to download them from a reliable source. There are plenty of websites that offer free and premium fonts, but it’s important to stick to trusted platforms to avoid security risks and licensing issues. Here are a couple of options to get you started:
- Google Fonts: Free and open-source fonts
- Microsoft Store: Verified fonts
- Creative Market: Premium fonts
- FontSquirrel: High-quality free fonts
- DaFont: Vast library of free fonts
Always make sure you’re downloading fonts from trusted sources to avoid security risks.
Installing fonts in Windows is straightforward, and once they’re set up, they work seamlessly across all your apps. Whether you’re working on documents or design projects, having the right fonts in place gives you more control over how your content looks.
Before installing your new font, make sure to check out its license. Although many fonts are free to download, not all of them are free to use. Fonts may be free for personal use but not commercial use, for example, so it’s best to double-check.
Changing fonts is just one of many ways you can customize Windows 11. You can also change the mouse pointer.


