
Windows Sandbox is an integrated element and is primarily designed to allow you to run untrusted and sketchy apps separate from the rest of the Windows 11 operating system.
Enabling the feature and running a full virtual version of Windows within your existing installation takes a couple of steps. It doesn’t involve buying or handling any extra software, so here’s more on how you can enable and use it right on your own laptop or desktop.
Step 1: Check your PC for virtualization support

One of the pre-requisites to using Windows Sandbox is to check your PC’s support for virtualization. This technology allows your PC to leverage its computing power to separate hardware from software. It is typically a setting available in the BIOS as Enable Virtualization Support.
We checked for this option on our Dell XPS 15 by pressing F2 on boot, choosing Virtualization, and then clicking Enable Intel Virtualization Technology and pressing on OK.
You can learn more about how to enable virtualization on your device by checking the support documents available from your PC manufacturer.
Step 2: Check or upgrade your Windows 11 version
Windows Sandbox is only available for two versions of Windows 11 – Pro and Enterprise. If you’re running Windows 11 Home, which comes with most new PCs, you won’t be able to use Windows Sandbox.
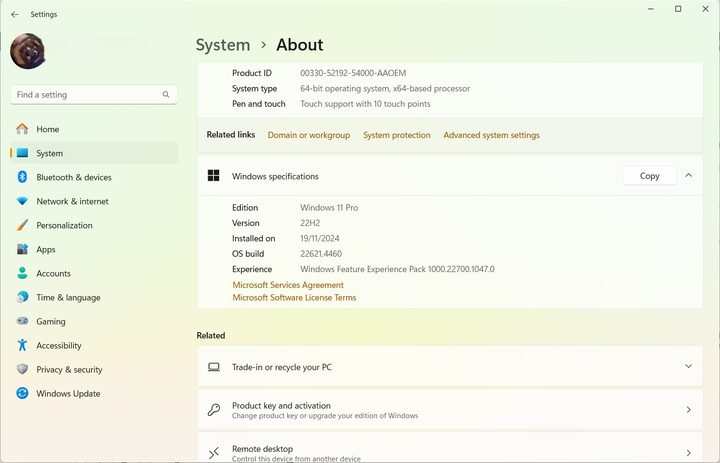
You can check your Windows version by heading to the start menu and typing About.
Next, choose About Your PC from the list of search results. This should open Windows 11 Settings. Scroll down to the bottom of the screen, and check under Windows Specifications.
If you see Windows 11 Pro or Enterprise, you’re ready to go. If not, you can upgrade your version of Windows by visiting the Microsoft Store app on Windows 11 and entering a search for Windows 11 Pro. A typical upgrade license costs $100.
Step 3: Head to the classic Windows Control Panel
By default, the Windows Sandbox is not enabled. You must manually enable it with the classic Windows 7-style control panel.
To do so, search for Control Panel in the start menu or search box. Click on the Control Panel from the list of results.
Next up, in the search bar running along the Control Panel window’s top-right side, type: Turn Windows Features On or Off. You should then see a top result appear under Program and Features. Click on that option.
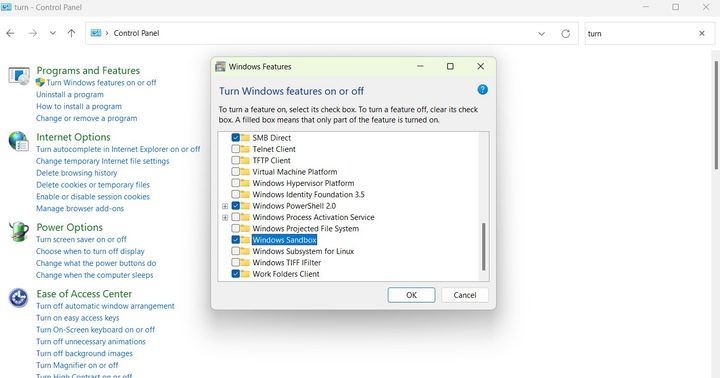
Step 4: Find Windows Sandbox in the list of Windows features
In the next window, scroll all the way to the bottom of the list. Next to Windows Sandbox, tick the checkmark, and then click OK.
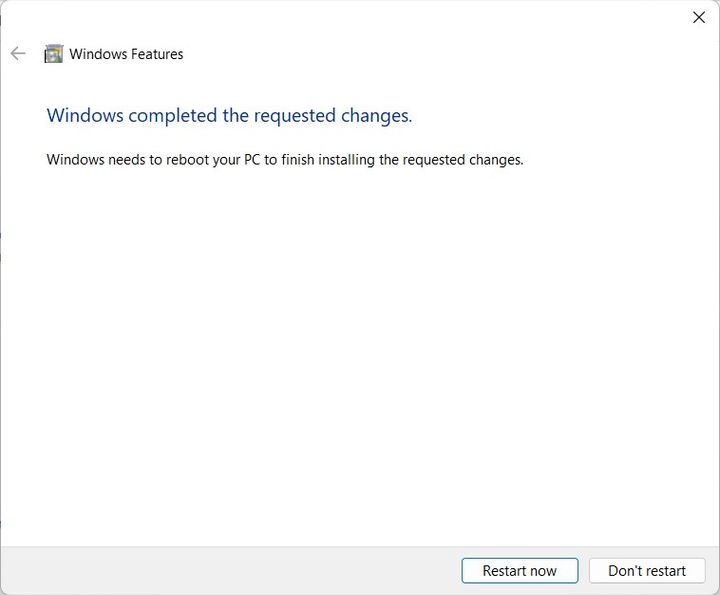
Windows 11 will download the required files for the Sandbox feature, and you then must restart your PC to apply the changes.
On the restart, you’ll get a similar screen to when you’re installing Windows 11 updates. It shouldn’t take much longer than two or three minutes.
Step 5: Launch Windows Sandbox
After you reboot, you can launch Windows Sandbox from the Start Menu. It should appear all the way at the bottom of your list of apps, but be sure to select Run as Administrator when you click on it. Alternatively, you can search for it by typing Windows Sandbox into the Start Menu and launching it.
Once launched, the Windows Sandbox logo will appear on your screen in a rectangular-shaped box. This is a loading screen, so don’t worry. After a few seconds, another window should appear with the familiar Windows desktop and taskbar. This is your new virtual Windows 11 Sandbox — and a place for testing your apps.
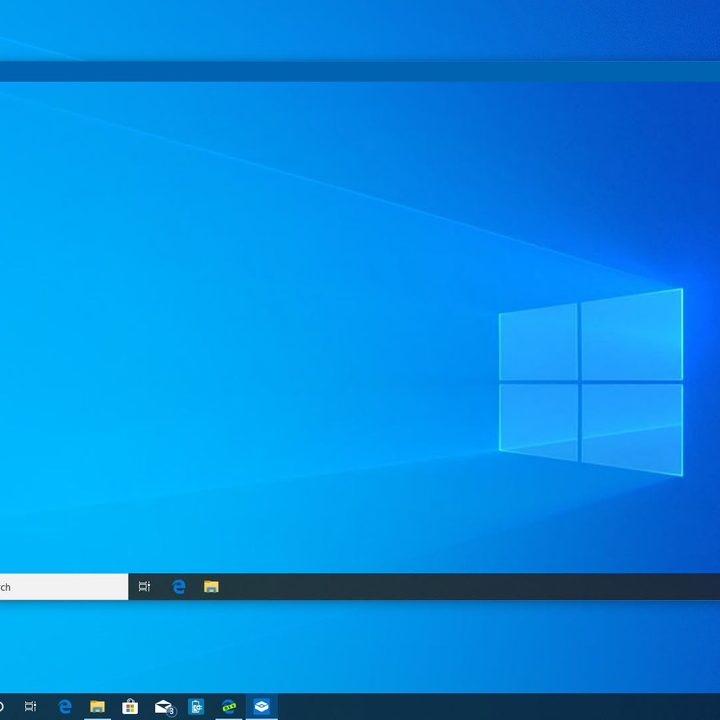
Step 6: Transfer files and other sketchy software
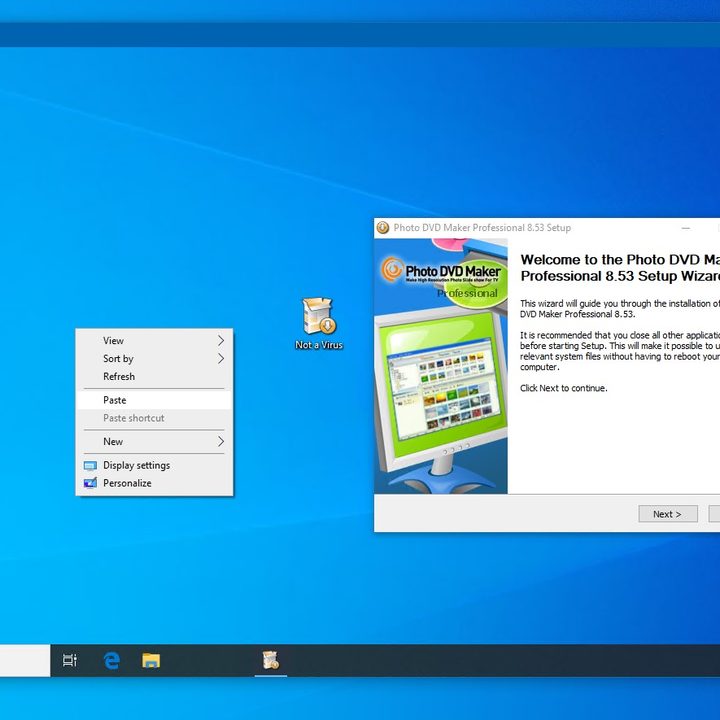
Once Window Sandbox launches (the Windows 10 sandbox is pictured), you can transfer an installer for the software you want to test between your physical PC and your sandbox. To do so, find the file you want to transfer. Right-click it and select Copy.
Head back to the window with Windows Sandbox. Right-click on the desktop space and select Paste.
You can then double-click the installer file and run it in Windows Sandbox, just as it would on your PC. Note that you can’t drag and drop files between your physical PC and the Sandbox. Since the Sandbox is on a separate partition, you’ll use Microsoft Edge as your go-between to download files that you want to test out in Sandbox for security.
Step 7: Closing, navigating the Sandbox, and other tips and tricks
Depending on your work style, you can leave Windows Sandbox open like a folder window, or you can make it full-screen so you’re working solely in Sandbox. You can press the Ctrl + Alt + Break shortcut keys on your keyboard to switch Sandbox to full-screen mode.
Also, there is no need to shut down the Sandbox once you’re done. Exit full-screen mode and press the X button as you would with a normal app to close the session. A pop-up will remind you that everything you’ve just done in Sandbox will be deleted, but that’s the entire purpose of the program, so you can acknowledge the alert and continue on with your work.


