
If you’ve recently purchased an Amazon Fire TV Stick, congratulations! It’s one of our favorite streaming devices — and for good reason. With Amazon’s proprietary device, you’ll be able to quickly access content on a range of streaming platforms, including Netflix, Hulu, Amazon Prime, YouTube, and Apple TV+, among others. Just because it’s capable, however, doesn’t mean it’s the easiest device to use.
If the getting started process looks a bit daunting, don’t worry — we have you covered. Here’s how to set up an Amazon Fire TV Stick with ease.
Further reading
What you need to get started
To get started with your Fire TV Stick, you’ll need the Fire TV device itself, as well as an active internet connection with Wi-Fi and a TV with an HDMI port. Additionally, you will need an Amazon account to register your Fire TV. If you purchased your Fire TV stick directly from Amazon, it should already come with your account pre-setup. Otherwise, you will need to enter your account information during the setup process.
Once your Wi-Fi is ready and your Amazon account is properly set up, follow the steps below.
Connecting your Amazon Fire TV Stick
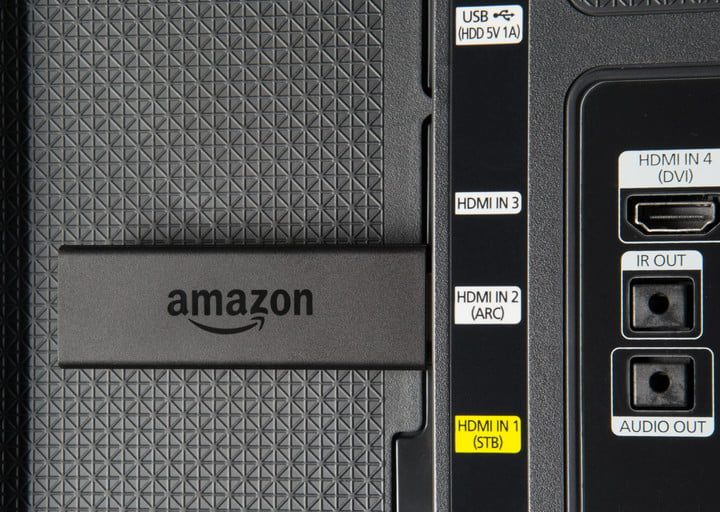
To begin the setup process, you will need to unbox your new Fire TV Stick. Within the box, you should find the Fire TV Stick, a micro-USB port, a power adapter, a remote, and a pack of AAA batteries. Despite its small stature, most TVs cannot power the Fire TV Stick on their own, so a power adapter is needed. Once your product is unboxed, follow the steps below to begin connecting the Fire TV Stick to your TV.
Step 1: Connect the micro-USB cable and power adapter.
Step 2: Plug the power adapter into a standard 120V outlet.
Step 3: Plug the micro-USB cable into your Fire TV Stick.
Step 4: Find an available HDMI port on the back of your TV. Note the label that designates the port number — we will need this number later when selecting your input setting.
Step 5: Plug the Amazon Fire TV Stick into the selected HDMI port.
Step 6: Power on your TV, and use the input button to switch to the correct HDMI port. This is where the number we previously noted will come in handy.
Step 7: Place the provided AAA batteries in the remote.
Step 8: Your hardware is now set up. Follow the next section to complete the software setup process.
Setting up the software
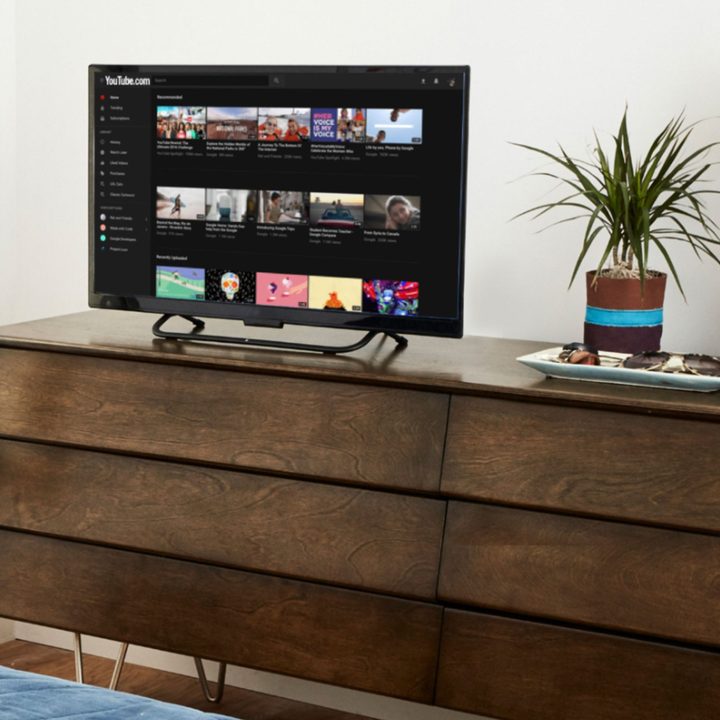
Now that your Amazon Fire TV Stick is plugged into your TV, you should see a screen that says Fire TV Stick with a message alerting you to press the Play/Pause button. If your remote does not function correctly, make sure the batteries are fresh. Then, if all else fails, attempt to pair the remote with your Fire TV by holding down the Home button for 10 seconds.
Step 1: When prompted, click the Play/Pause button.
Step 2: Select your preferred language of choice.
Step 3: Choose your home Wi-Fi network from the list of available options.
Step 4: If needed, enter a password for your home Wi-Fi network.
Step 5: If not already pre-registered, select I Already Have an Amazon Account. Once logged in, your device will register with Amazon.
Step 6: Select Yes or No if you wish Amazon to save your Wi-Fi password for when you purchase other Amazon products.
Step 7: If you wish to set up parental controls, click Enable Parental Controls; otherwise, click No Parental Controls. If you choose to skip the parental controls, you can enable them at a later time.
Step 8: Your Fire Stick will prompt you to select a streaming service. If you wish to connect your streaming services now, choose to Get Started. Otherwise, select No Thanks.
Step 9: If your Fire TV Stick remote has volume buttons, the setup process for using said volume buttons will begin. Otherwise, you have finished the software setup process.
Step 10: The volume setup will allow you to control your TV or sound bar’s volume using the volume controls on the Fire TV Stuck Remote. Click Next to continue.
Step 11: Toggle the Volume Up and Volume Down buttons on your remote control.
Step 12: Your Fire TV will ask you if you heard the volume change. Select Yes or No.
Step 13: Once your Fire TV finds the correct volume settings and you select Yes, the setup process will be complete. Click OK to confirm.
Downloading streaming services
Now that your Fire TV Stick is connected to your TV and you’re signed in, you can begin downloading your favorite streaming apps and games. If you selected the Get Started button during the initial setup, Amazon should have prompted you to choose which apps you’d like to install on your device. If not, however, follow the steps below.
Step 1: Hold the Home button to return to your Home Screen.
Step 2: Select the Apps option.
Step 3: Enter the name of a service you wish to find in the search bar.
Step 4: Once located, press the Install button to begin the installation process.
Step 5: Return to the Home Screen by holding down the Home button.
Step 6: Select the downloaded app on the screen to launch it.
Step 7: If required, enter your credentials to log into the service.
Step 8: Begin watching your favorite content.
Setting up parental controls
If you skipped the parental controls portion of the initial setup process, rest assured you can still enable them using the steps below. Doing so will establish limits for younger viewers.
Step 1: Press the Home button to return to the Home Screen.
Step 2: Go to the Settings menu.
Step 3: Select the Preferences option.
Step 4: Select Parental Controls.
Step 5: Enter a PIN to enable the feature. Keep in mind that you will need to remember this PIN to access and edit the controls later on.
Step 6: Select the maximum age ratings that you wish to allow for video playback.
Troubleshooting the setup process
If you’re having trouble setting up your Amazon Fire TV Stick, take a look at some of the common problems below, as well as our proposed remedies. If all else fails, you can always contact Amazon Technical Support for assistance.
Problem: Your Fire TV Stick won’t turn on, or the image on the screen is blank.
Solution: Ensure that you are using the provided micro-USB cable and power adapter, then double-check to ensure they’re both plugged in properly. Also, ensure your TV is on the correct HDMI input. The input number should be visible either below the port you are using or directly beside it.
Issue: Your Fire TV Stick won’t fit into the HDMI port on your TV.
Solution: Due to the thickness of the Fire TV Stick, some televisions may encounter issues with space. If your TV is making it difficult or impossible to plug in your Fire TV Stick, use the provided cable extender.
Problem: You cannot connect to your home Wi-Fi network.
Solution: Be sure to double-check that you are selecting the correct network, then make sure you are entering the correct password; it will be case-sensitive.
Issue: Your Fire TV Stick remote does not register with your TV.
Solutions: First, make sure the AAA batteries in your TV remote are fresh and operational. Then, attempt to repair the remote with your TV by holding down the Home button for 10 seconds.


