
You don’t need a photo studio in your house to shoot professional-looking portraits at home. All you need is a camera, a window, and a willing muse.
We’re all spending a lot more time at home right now. For many photographers, being unable to get out and create photographs is their worst nightmare. But even when faced with a worldwide quarantine, there’s still ample opportunity to pick up your camera, start shooting, and improve your skills. Portraiture is one of the easiest genres of photography to do at home — so long as a family member, roommate, or pet is also stuck at home with you.
Here’s how to turn any room with a window into a natural light studio.
Good light vs. bad light
Not all natural light is equal. The best kind of light for portraiture is what’s called diffused light. This is the type of light that occurs on overcast days, where clouds scatter the light from the sun, turning a harsh point light source into a very large and soft one. Studio photographers use umbrellas or soft boxes to recreate this look, but you can also get it from a window.
Unfortunately, window light has some drawbacks. On a clear, bright day with the sun piercing through your window, the light will be too direct and harsh for a good portrait. Direct light will cause your subject to squint, and it creates heavy, unflattering shadows. This kind of light also makes it extremely challenging to get the perfect exposure.

There are, however, some steps you can take to soften direct sunlight through a window. The first is to simply use a different window or wait for a different time of day when the sun is no longer directly shining through. Or, if you have thin, preferably white curtains, closing them will turn a window into a giant soft box. You can also cover a window in paper to achieve a similar effect.
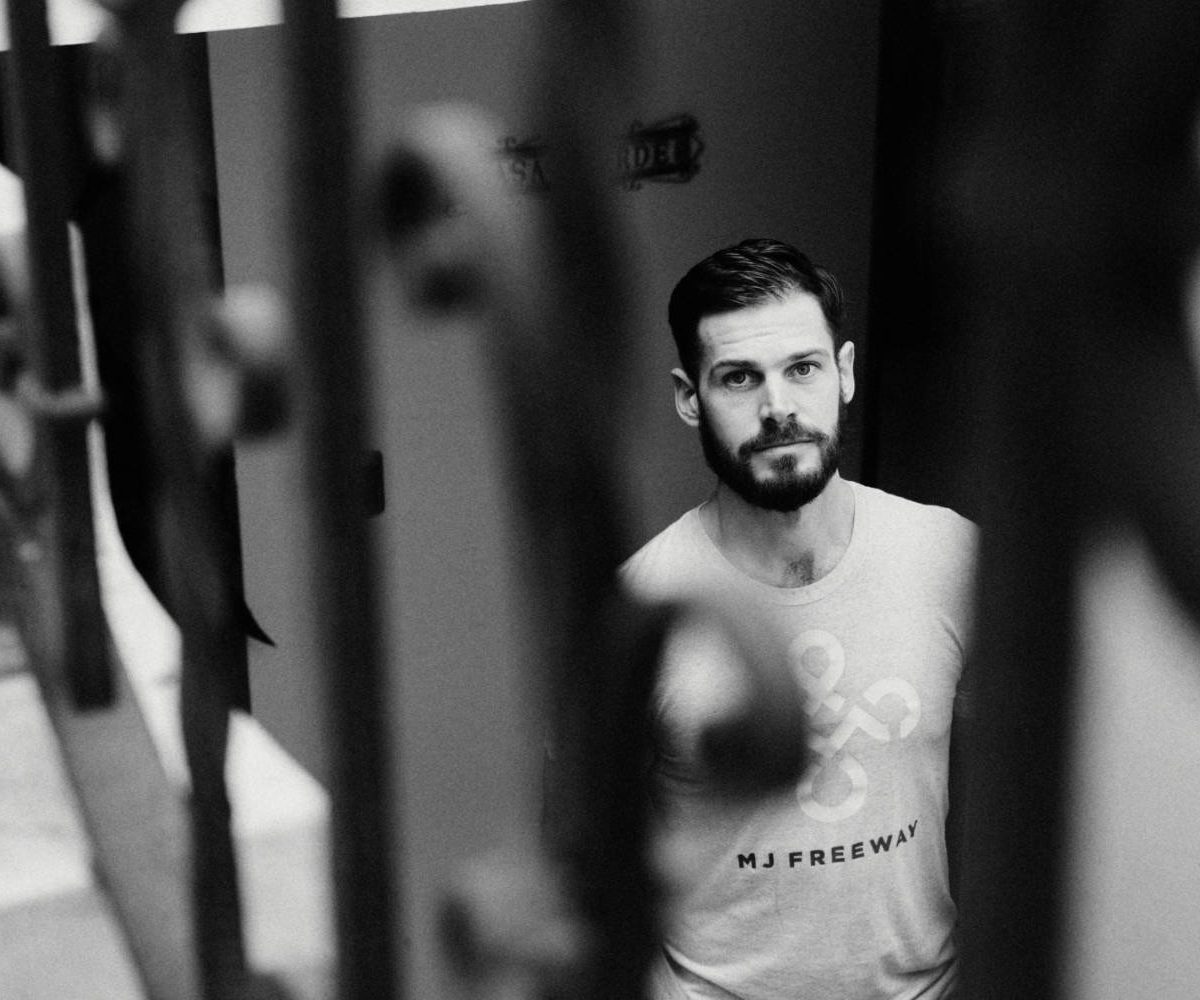
For the photo above, I also shut the blinds, adding an extra layer of protection between the light and the subject. Notice that even very soft light can still make shadows when you want them. By placing my subject side-on against the window, and very close to it, I was able to achieve a more dramatic look with the opposite side of his face falling into shadow.
Setting the scene
Good portraiture isn’t just about good lighting. Identifying your light is half the battle. After that, you need to set up your scene and start to get some emotion and character from your subject.

The image above is an unedited JPEG that wasn’t selected in the final batch of photographs. My intention was to use the plant in the foreground for extra context, but it ended up being a distraction that didn’t add value to the photograph. Changing the position of the plant or subject might have improved it, but given the limitations of the space, I decided to just remove the plant.

While contextual clues can often contribute to the story of a portrait, sometimes a simple frame is the best way to go. This might be especially true for at-home portraits, where you may not want every image to look like it was obviously shot in your kitchen or living room.
Use your environment to your advantage
From spiral staircases to apartment balconies, most homes offer some form of visually interesting architecture. Examine your home closely. There are probably things you don’t notice in everyday life that could be used photographically. Finding elements to frame your subject adds depth and character, and ultimately makes your portraits less repetitive and more compelling.
Don’t forget photography 101
Photography’s basic rules — which are more like guidelines — still apply here. There are two primary rules to keep in mind for in-home portraiture: The rule of thirds and framing. Even if you ultimately choose to ignore them, these rules will help you think creatively and encourage you to look for the best possible shots.
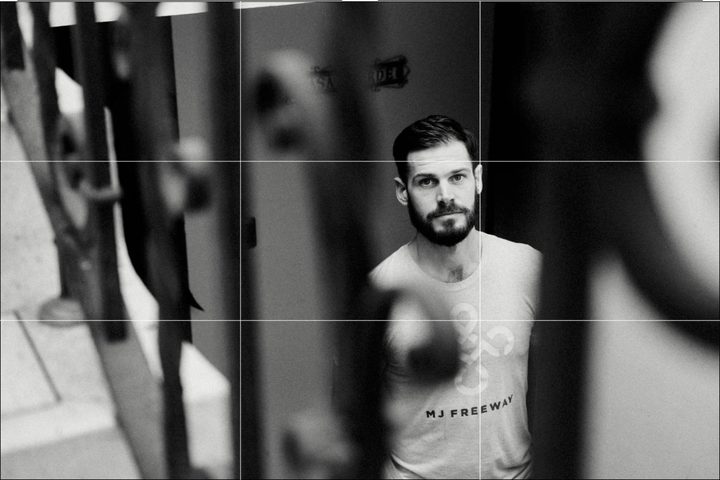
Rule of thirds
The gist of this rule is that a subject placed off-center tends to be more aesthetically pleasing than a centered subject. Dividing the frame into thirds both horizontally and vertically will reveal four points of intersection. Putting your subject on one of these points is a good place to start.
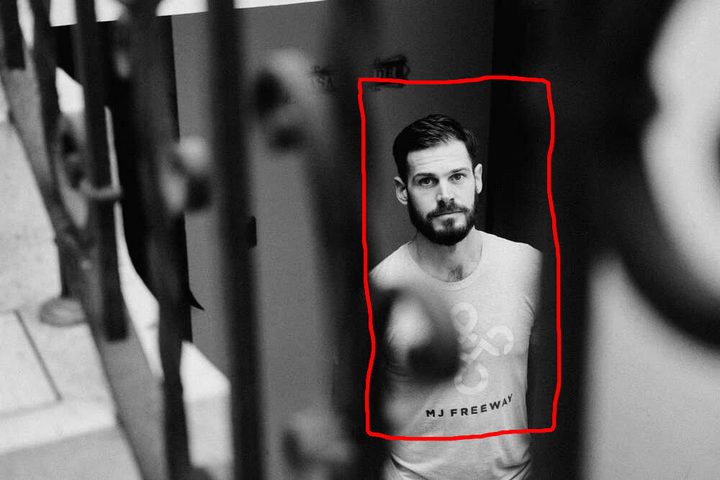
Framing
Framing is a simple, yet often overlooked method of bringing more focus and attention to your subject. I used the spiral bars in this instance as a frame for my subject. Shooting at an aperture of f/2.8 ensured the bars are out of focus, but with enough detail to maintain context.
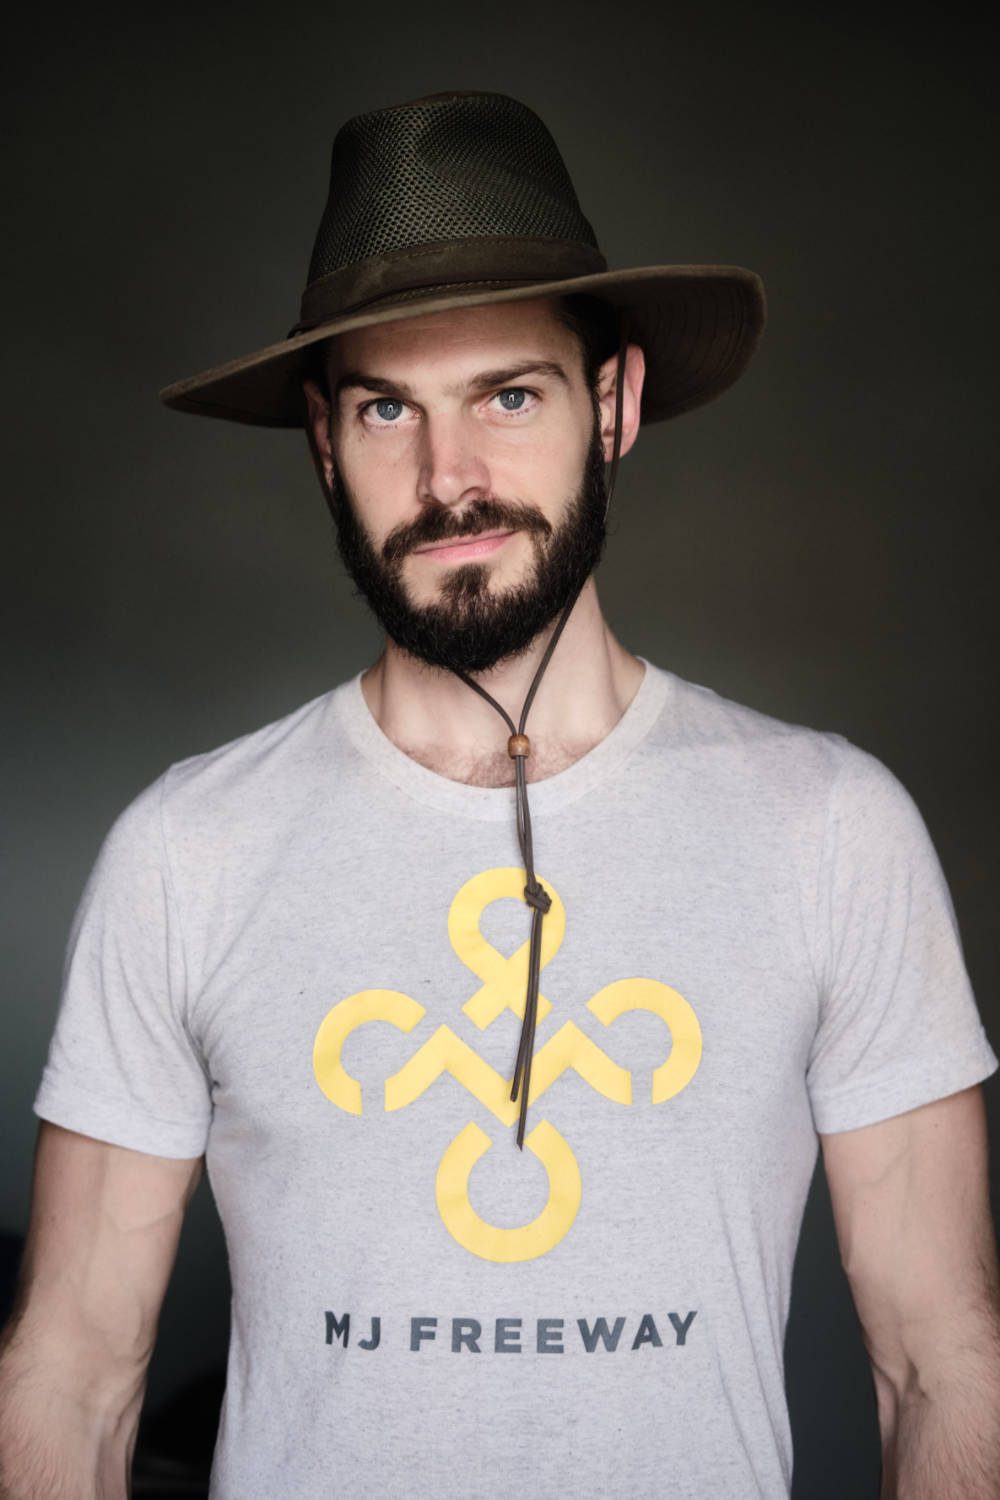
Here, the light source was made up of large skylight panels that allowed the natural light to flow into the room.
Camera settings
What camera settings should you use for natural light portraits?
Although a valid question, the answer is often overthought and made unnecessarily complicated. That’s because there’s no one-size-fits-all for camera settings. But here are some things to consider.
Sharp subject, soft background
A common look for portraits is to have your in-focus subject placed against a very out-of-focus background. This is called a shallow depth of field, while the background blur itself is called bokeh. A wide aperture, which could be anything from f/1.4 to f/4 depending on your lens, will result in a shallower depth of field and more bokeh. Physical distance also impacts depth of field. Standing closer to your subject or having them stand farther from the background will also make for a shallower depth of field.
Keep everything sharp
Sometimes, you don’t want elements of your frame out of focus. You may want the whole scene to be nice and sharp in order to include more context. To do this, you’ll want to stand farther back from your subject and shoot a small aperture, like f/8 or f/16. You can also increase depth of field by shooting from farther away, or using a wider-angle lens.
Adding and freezing motion
We tend to think of portrait subjects as being sharp and stationary, but motion blur can be an effective tool in some types of portraits. For example, if you have kids who like to dance or run around, motion blur can be used to translate that energy to a photograph.
To achieve a sense of motion in a portrait, you need to use a slow shutter speed. What speed, exactly, depends on how much motion you’re trying to capture, but you might start around 1/40 second and slow down from there. If you have a tripod, this is a good time to use it, as handholding a camera with a slow shutter speed will add blur from the camera movement when what you want is the blur from the subject.
Alternatively, if you wish to freeze motion, then you’re going to want to use a faster shutter speed. Start at 1/125 second and increase depending on how much you wish to freeze your subject while they are in motion.
Have fun!
Shooting natural light portraits at home is a lot of fun. Even if you don’t nail perfect shots right away, keep at it — you might be surprised with how much creative potential hides in your home once you know how to find it.


