
Google’s voice over IP (VoIP) system Google Voice is a free telephone and texting service, accessible on your phone or computer. It launched in 2009 and since then has served as a convenient way to add a second phone number to your mobile device. In addition to serving as a work or second personal number, Google Voice also works to shield your private information from criminals, hackers, and online troublemakers to protect your privacy. Just as you wouldn’t give out your landline number to just anyone, you don’t have to hand over your mobile number to every app, mailing list, social network, or new person you meet, either. Just use Google Voice. Here’s how to set it up.
Please note: When you place a Google Voice call from your mobile device, you might see a phone number that is neither your Google Voice number nor the call recipient’s number. These numbers are used to send all Voice calls. The person you’re calling will still see your Google Voice number. Such access number-based calls use the standard minutes from your cell phone plan and may incur costs if you’re traveling internationally. It’s also worth remembering Google Voice only works in the U.S.
What is Google Voice?
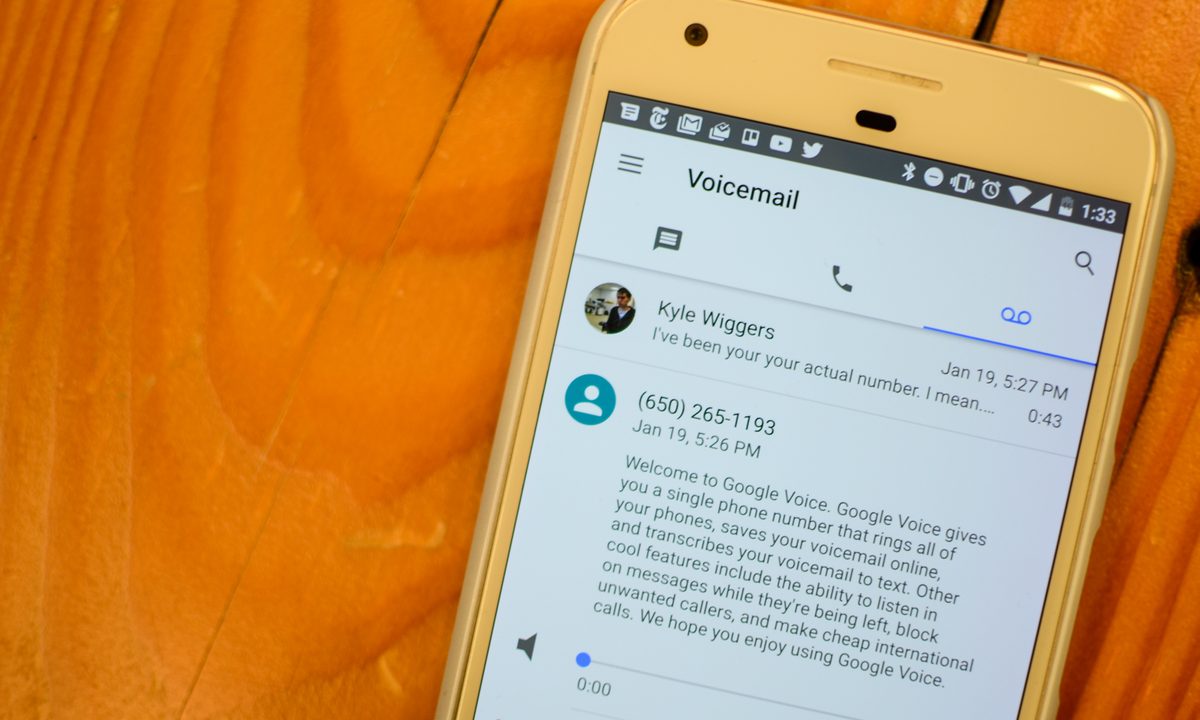
Google Voice uses your Google account to give you a different public-facing phone number for calling, text messaging, and voicemail for your smartphone or computer. You choose your number as a second phone number that links to your actual personal number. You can set up the app to forward calls, text messages, and voicemail with a full backup. The app even offers advanced voicemail transcriptions that you can read in the app or have sent to your email and lets you call international destinations at competitive rates without extra charges.
If you’re using multiple devices simultaneously as most of us do these days, Google Voice connects to all of them so you can check your inbox from wherever you may be. Google Voice also filters out spam and can block any numbers you choose.
Google Voice is only available for U.S.-based Google accounts and G Suite accounts. Text messaging through Google Voice is only available in the U.S. and Canada. Plus, if you need to add another phone number to an already-existing account, you’ll find a different set of steps. Entering information out of order or making changes to phone numbers and other preferences may change the process a bit, too.
Set up Google Voice on iPhone
Step 1: If you don’t have the Google Voice app, download it from the App Store.

Step 2: Launch the app, and when Google recognizes your account, tap Continue as [Your Name].
Step 3: Tap Accept to the terms and conditions.

Step 4: Tap Search to choose a Google Voice number by city or area code.
Step 5: Select the number you want from the list.

Step 6: Agree to verify your existing phone number by tapping Next.


Step 7: Enter your phone number and tap Send Code.


Step 8: Enter the text code you received.

Step 9: You will get a message that your account is ready to use.

Step 10: Google then alerts you that it has added your account.
Step 11: Google asks permission to access your contacts. Tap OK.

Step 12: Google asks permission to send notifications. Tap Allow.

Step 13: Google sends an alert that all calls made from Google Voice will show up in the app.

Set up Google Voice on Android
Step 1: If you don’t have the Google Voice app, download and install it from the Google Play Store.

Step 2: The app may or may not ask you to choose or sign in to your Google account.
Step 3: Tap Search to select a Google Voice phone number. Select the number that you want your contacts to see when you call them. You can search by city or area code.
Step 4: Tap Select when you choose your number, and then tap Next to confirm the phone number you selected.
Step 5: Google Voice confirms the number you chose, and if it all looks OK, then tap Accept Number.
Step 6: You will be asked to add a number; if you haven’t added your mobile phone number to your Google account, do so and click Send Code.
Step 7: An alert asks permission for Google Voice to access your contacts. Tap Allow.

Step 8: A list of your contacts pops up.

Step 9: You are now ready to use your new Google Voice phone number.

How to set up Google Voice on a computer
To set up Google Voice on a computer, follow the steps below:
Step 1: Visit the Google Voice website.
Step 2: Sign in to your Google account for access.
Step 3: Accept the Terms of Service and Privacy Policy displayed on the screen, then click Continue.
Step 4: Look for available numbers by city or area code. In case you can’t find a suitable number, try using a nearby city or area code.
Step 5: Select a number.
Step 6: Verify your existing phone number by following the dialogue box on the screen.
Step 7: Click Finish to complete the setup.
How to link more than one number to your Google Voice account on your computer
If you want to link more than one number to your Google Voice account on your computer, follow the instructions below:
Step 1: Open the Google Voice website.
Step 2: Sign in to your Google account.
Step 3: Click on the Settings button.
Step 4: Select Linked Numbers from the menu.
Step 5: Click New Linked Number to add another number.
Step 6: Verify your current number and click Finish.


