Frequently find yourself forgetting important tasks? If you own a Mac, there’s a useful app that can help: Apple’s own Reminders. This simple-to-use Mac app lets you quickly and easily enter reminders, tag other people, and much more.
MacOS Big Sur brings a number of improvements to the app, but you don’t have to be on Apple’s latest Mac operating system to get started. In this article, we will show you have to get up and running with Reminders and use its tools to help stay on track.
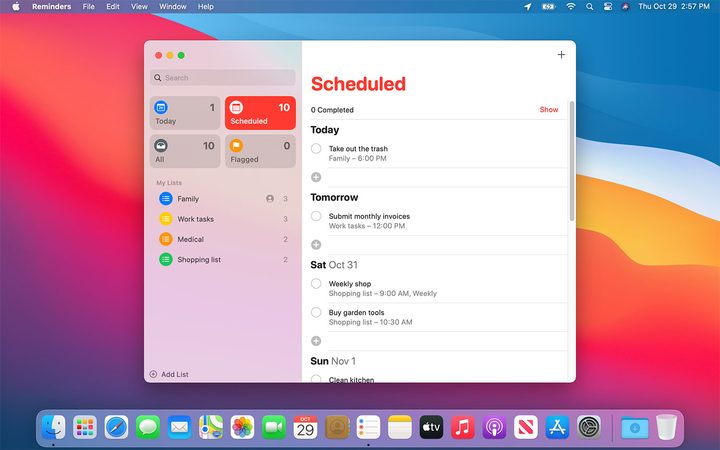
Step 1: Reminders basics

At its simplest, the Reminders app is very easy to use. In the bottom-left corner, click Add List, type a name, then press Return. Double click the colored icon to the left of the list name, then click Edit when you hover over the icon on the left and you can change its color.
In your new list, either click the + in the top-right corner or anywhere in the main window (where it says “No Reminders”) to create a new reminder. Type the text you want to be reminded of (such as “Take out the trash”), then add a date and a time. You can do this using the buttons provided, but Reminders will also understand if you type something like “Take out the trash tomorrow at 6 p.m.”
If you want to move a reminder to a different list, simply drag and drop it. When you have completed a reminder, click the circle next to its title to mark it as done.
Finally, Big Sur lets you add emoji to your reminders and lists. To do so, click Edit > Emoji & Symbols and choose an option when typing.
Step 2: Share a list

You may want to include other people on a reminders list so they also get alerted when a reminder is due. To share a list, hover over one in the left-hand sidebar and you will see a contact icon (a small silhouette inside a circle). Click this, choose your sharing method, click Share, then enter the recipient’s details.
Once you have shared a list, you can assign reminders to a person it has been shared with. Click the “i” button next to the reminder and select a person by the Assign To section.
Step 3: Extra customization

The “i” button contains other useful tools. Tick the At a Location checkbox and enter a place to be alerted when you arrive there, or tick the When Messaging a Person checkbox and insert a name to have the reminder sent to you when you text them.
Underneath this is the option to have the reminder repeat, either every day, week, month, or year, or by a custom schedule. If you choose to make the reminder repeat, you can also select a date on which the repeat will end.
Finally, you can also set a priority for the reminder (low, medium, or high), and add information in the form of a relevant web address or image. If you want to add longer notes, you can do that under the reminder’s title in the “i” menu.
Step 4: Use Siri’s smart suggestions

Siri is not just Apple’s voice assistant — it also powers a lot of the smarter features of your Mac. That’s the case with Reminders, too. Siri will pick up on the words you use when typing a reminder (such as “tonight” or “noon”) and add information based on them.
New in MacOS Big Sur is Siri’s ability to use information from the Mail app to inform its Reminders suggestions. For example, if you have been in regular contact with someone in Mail and then type their name into a reminder, Reminders will suggest them as a contact to add.
Similarly, Siri can suggest dates, locations, and times for reminders based on previous tasks you have created, saving you time and effort in the process.
Step 5: Organize your reminders
There are several ways you can organize your reminders and keep them neat and orderly.
The first is to create a list group. When you have created two or more lists, click File > New Group. The currently selected list will be added to the group, and you can add more lists by dragging and dropping them into place. This is a helpful way to keep unrelated lists separate — you could create a group for family lists and one for personal lists, for example.
Reminders goes beyond simple groups through the use of Smart Lists. These are lists that populate based on certain criteria. The default ones in Reminders are Today, Scheduled, Flagged, and All. The Today one is useful for seeing what you have on your plate without having to click through all your separate lists, for instance.
MacOS Big Sur adds a few small tools to help manage these Smart Lists. You can now rearrange them in the sidebar into a more helpful layout, or hide Smart Lists you do not need.